Scenario: Let us take the example of the Ticket Module and the priority is Open to In Progress.
How to create an SLA policy?
To create an SLA policy follow the steps given below:
1. Go to CRM setting >> Automation >> SLA.
2. Click on + Add Policy on the top right corner of the page.
3. In Create a new SLA Policy to provide information.
a. Policy Name: Provide the Name for the new policy example "Open to In Progress".
b. Module Name: Select the module from the drop-down in which you want to apply for this policy example Ticket Module
c. Picklist Name: Select the Picklist Name from the drop-down.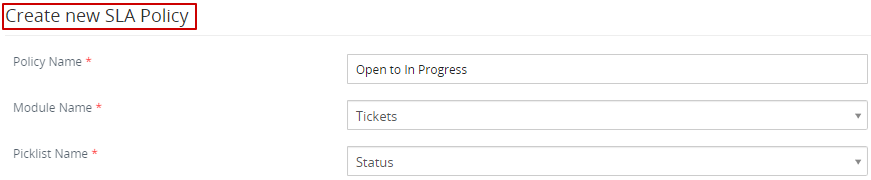
4. Set SLA Target - Status.
In this part, you will learn about setting the response time and resolve time. You will also grasp to set the priorities that must be implemented for every case or an internal ticket.
a. From "Open" >> To "In Progress"
b.Resolve within: Describe the time in which the service provider must resolve a customer issue based on the (number of minutes, hours, or days).
5. Click on the Save button.
To check more about SLA Trigger/Condition Details click here
How to delete the SLA policy?
1. Go to the list view of the SLA Policies.
2. Click on the Delete button.
3. Make sure to delete the SLA policy by clicking on the "YES button".