SLA's will help you to define the level of support or service that you agreed to offer to your client satisfaction.
Check more about How to Configure SLA Policy here.
How to execute predefined SLA Policy:
- Go to Main Menu > CRM Settings > Automation > Workflow.
- Click on "New workflow" on the top right corner of the page.

-
Create Workflow.
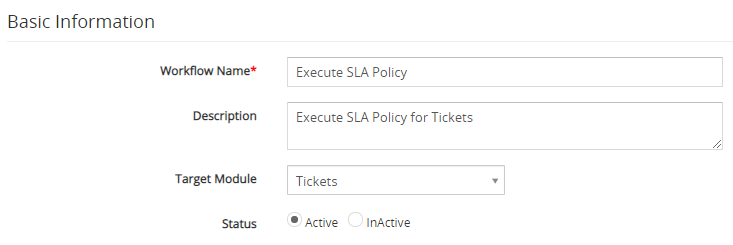
- The New Workflow edit form will appear, provide the required details.
- "Workflow Name", provide the name of the Workflow.
- "Description", provide the description of the Workflow.
- Select the preferred Module from the "Target Module" drop-down. For example, we would be using the Tickets module.
-
"Status", specify the status of the Workflow Active or Inactive. The Workflow will be executed when the status is set to active.
-
Workflow Trigger.
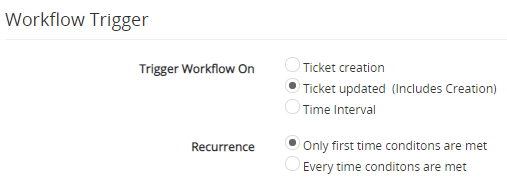
- Select the Ticket updated (includes Creations) option under the Trigger Workflow block.
- Select Only first-time conditions are met under the Recurrence section.
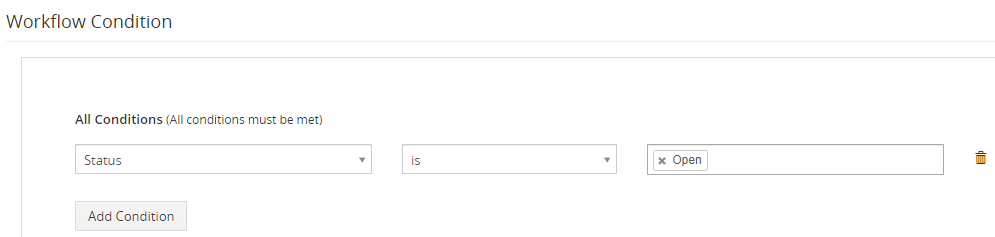
- Under the ‘Workflow Condition’ tab, click on the Add Condition and provides the required conditions to execute the task.
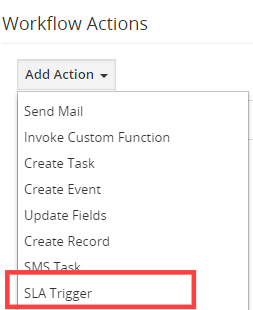
- Under the ‘Workflow Actions’ click on the Add Action drop-down tab and click SLA Trigger.
- The SLA Trigger window will pop up, provide the required details.
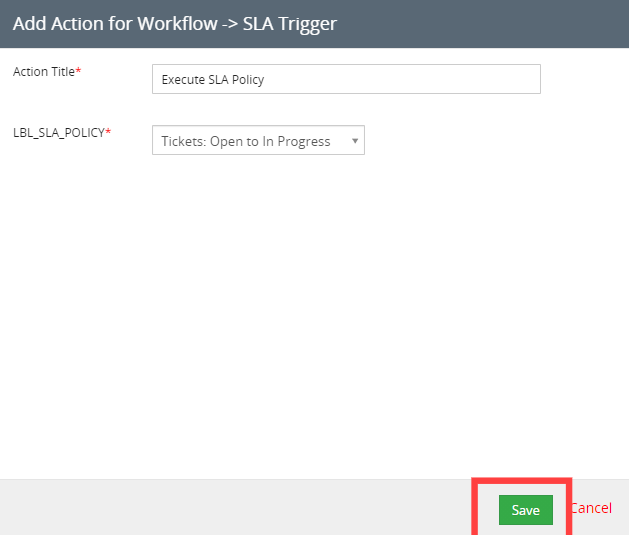
- "Action Title", provide the name of the action, this is just for internal reference.
- "SLA Policy'', choose the preferred SLA Policy from the drop-down.
- Click on the Save Button, this will closes SLA Trigger pop-up window.
- Click on the Save button again to save the workflow. This will closes the window opened in Step 3.