Let us take the example of the Contact Module, the process is the same for other Modules
To set up a List view Coloring follow the simple steps given below:
1. Go to >> CRM settings > Extensions >> Listview Color.
2. Select the desired "Module" from the drop-down >> click on "Add Color" on the left corner of the page.
Field explanation
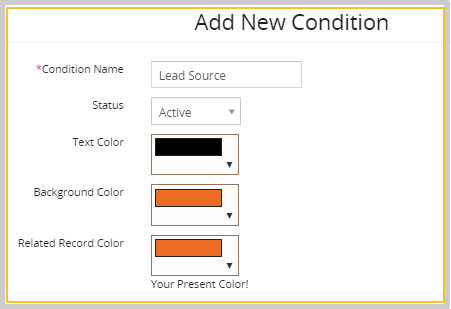
a. Condition Name- Provide the name of the condition as Lead Source.
b. Status- You can set the status of the color as Active/inactive.
c. Text Color- You can add the Text Color to be displayed in the List view.
d. Background color- You can choose the background color for the text to be displayed in the List view.
e. Related Record Color- You can add the color for the Related Record.
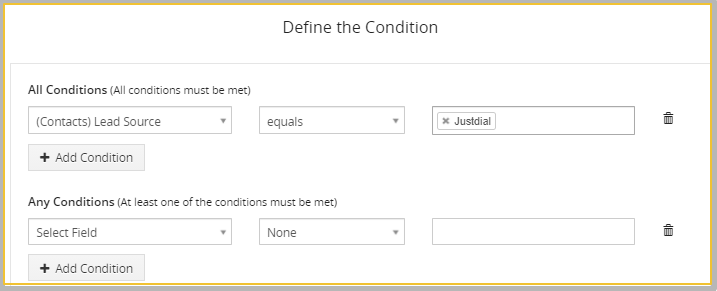
f.Define the Condition- Provide the condition for which you want to add the color
3. Click on the Save button.
4. Go to the Contacts Module the Lead source has been changed
How to Edit the List view color?
1. Go to the List view >> Click on the pencil icon.
2. In the Edit Condition page, edit the information.
3. Click on the Save button.
How to Delete the List view color?
1. Go to the List view >> Click on the Delete button.
2. In the Delete popup >> Click on the "Yes button".

3. Click on the Save button.