Setting up Workflow Action to Create Record.
Scenario: Project tasks creation, On a Project creation when the Type is Client Project, create Project Task to deploy a solar water heater and the target date should be 2 days from Project creation.
- Go to Main Menu > CRM Settings > Automation > Workflow.
- Click on "New workflow".

-
Create a Workflow
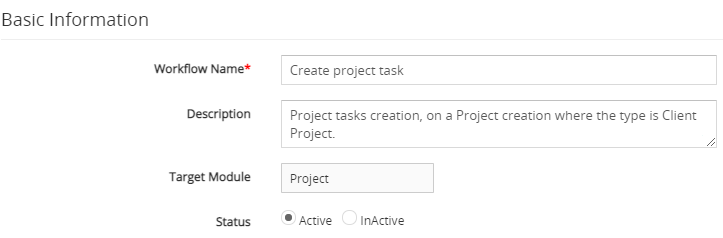
- The New Workflow edit form will appear, provide the required details.
- "Workflow Name", provide the name of the Workflow.
- "Description", provide the description of the Workflow.
- Select the preferred Module from the "Target Module" drop-down. For example, we would be using the Project module as a parent module.
- "Status", specify the status of the Workflow Active or Inactive. the Workflow will be executed when the status is set to active.
-
Workflow Trigger.
- Select the Project Creation option under the Trigger Workflow block.

- Select the Project Creation option under the Trigger Workflow block.
- Under the ‘Workflow Condition’ tab, Click on the Add Condition and provides the required conditions to execute the task.

- Under the ‘Workflow Actions’ Click on the Add Action drop-down tab and Click on Create Record

-
The Create Record window will pop up, provide the required details.
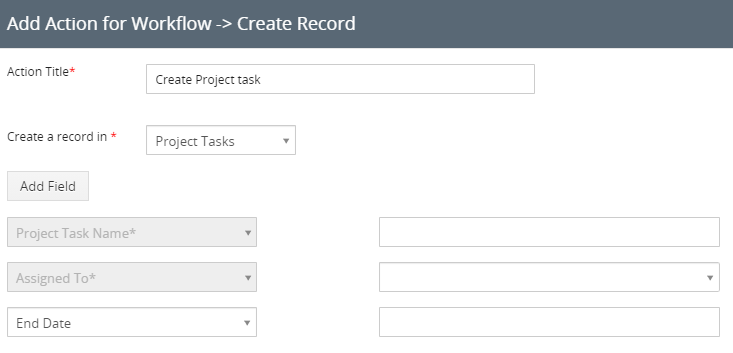
- "Action Title" Provide the name of the action, this is just for internal reference
- In the Modules to Create a Record dropdown, select the preferred child record, For example, we would be using the Project Tasks as a child module.
- Upon selecting a child module, all mandatory fields in that module are displayed. You will need to fill in the information that you would like to have in the child record
- You can also add a required field to in Child record by clicking the "Add Field" button.
-
Below Add Field Click inside the space provided on the right side of the Fields name.
-
Set Value Window will Popup with the following three options is displayed.

18. To fill in the information in the required field that you’d like to have in the child record.

-
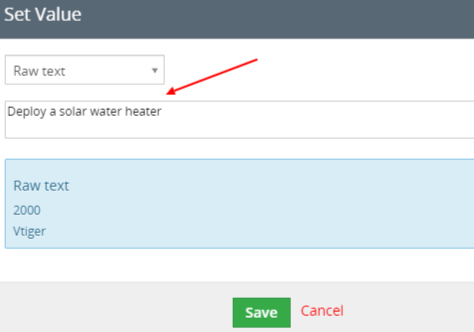
"Project Task Name", Select Raw text from the dropdown, this allows you to manually enter the value the destination field must take. provide the required name and click on the Save Button.
- "Assigned To", click on the dropdown provided on the right side and select a preferred User or Group to assign the task or you can also select the Parent option which will take assigned to from the parent record owner.

-
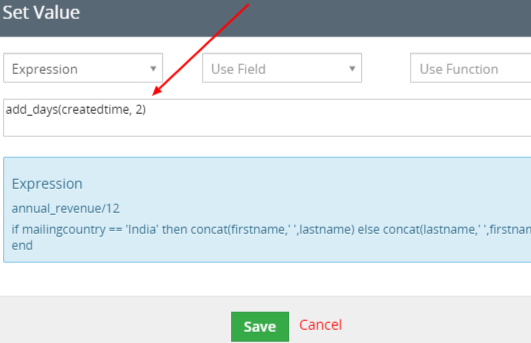
"End Date", Select Expression from the drop-down.
- Click on the Use Function drop-down and select "add_days(datefield, noofdays)", This function allows users to calculate a new date. It takes two inputs a date and a number.

-
Click on the Use Field drop-down and select Create time, you will be getting a field token, Copy the token and paste it into accurate locations. For Example, where the first parameter is a Create time on the "date field" and the second parameter is provided the required number of days.
- Click on the Save Button. This will closes the Set Value pop-up window.
- Click on the Save button to save the workflow. This will closes the window that opened in Step 3.
- Click on the Use Function drop-down and select "add_days(datefield, noofdays)", This function allows users to calculate a new date. It takes two inputs a date and a number.
-
"Project Task Name", Select Raw text from the dropdown, this allows you to manually enter the value the destination field must take. provide the required name and click on the Save Button.