Set up a Workflow action to Send Mails:
- Go to Main Menu > CRM Settings > Automation > Workflow.
- Click on "New workflow".

-
Create a Workflow
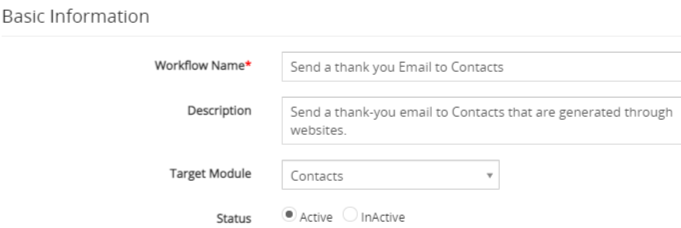
- The New Workflow edit form will appear, provide the required details.
- "Workflow Name", provide the name of the Workflow.
- "Description", provide the description of the Workflow.
- Select the preferred Module from the "Target Module" drop-down. For example, we would be using the Contacts module.
-
"Status", specify the status of the Workflow Active or Inactive. the Workflow will be executed when the status is set to active.
-
Workflow Trigger.
-
Select the Contact creation option under the Trigger Workflow block.

-
Select the Contact creation option under the Trigger Workflow block.
- Under the ‘Workflow Condition’ tab, Click on the Add Condition and provides the required conditions to execute the task.

- Under the ‘Workflow Actions’ click on the Add Action drop-down tab and click Send Mail.

-
The Email composer form will popup provide the required details.
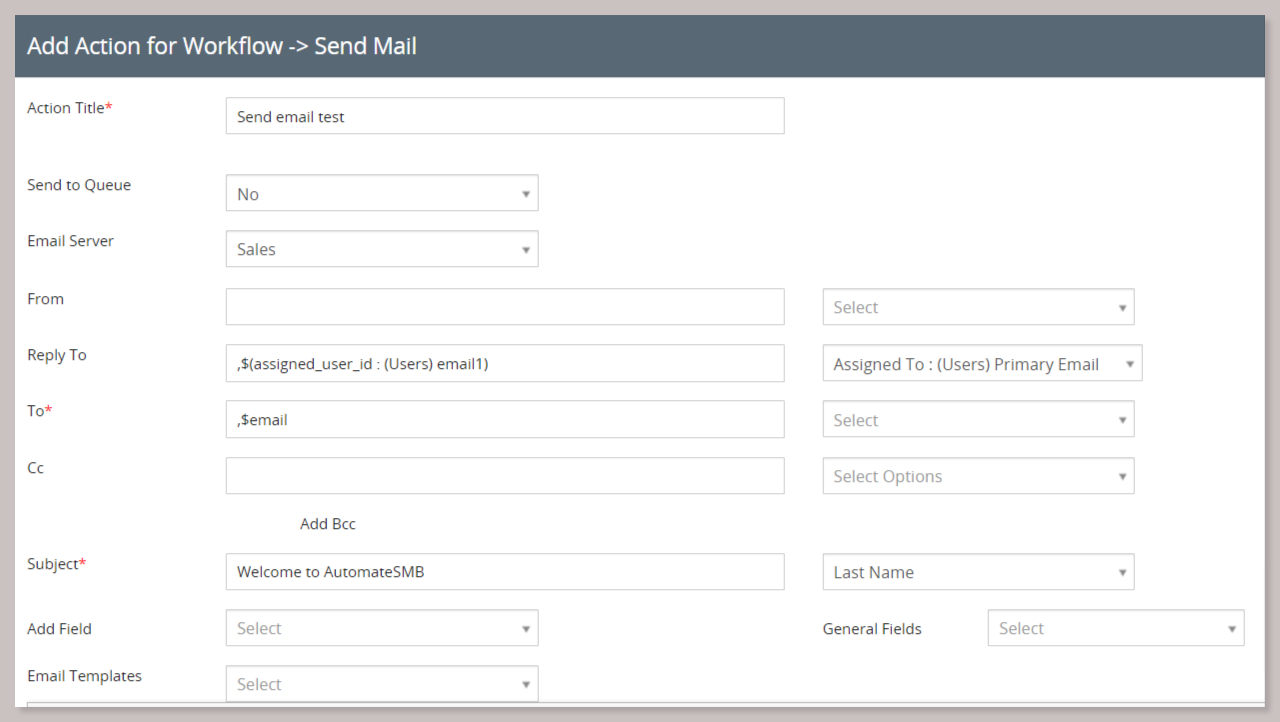 Field NameDescriptionsAction TitleProvide Action Title of Email, this is just for internal reference.Send to QueueSelect the "No" option from the Dropdown.
Email Server
Select Email server from which the email should be sent
FromSelect the email id from the dropdown from which you need to send the emails.Reply ToIf the customer’s reply to the mail will be sent back to the user’s email ID mentioned in the Reply-To field.ToYou can select various email fields from the drop-down that you intend to send emails to CustomersSubjectProvide the preferred Subject for MailAdd FieldYou can add a field from the selected module field tokens in the mail composerGeneral Fields
You can add system provided general fields like Record URL, current date and time,etc.
Email TemplatesYou can add a Pre-configured Email Template related to the module.
-
Click the Save button as you complete the process of creating the workflow.
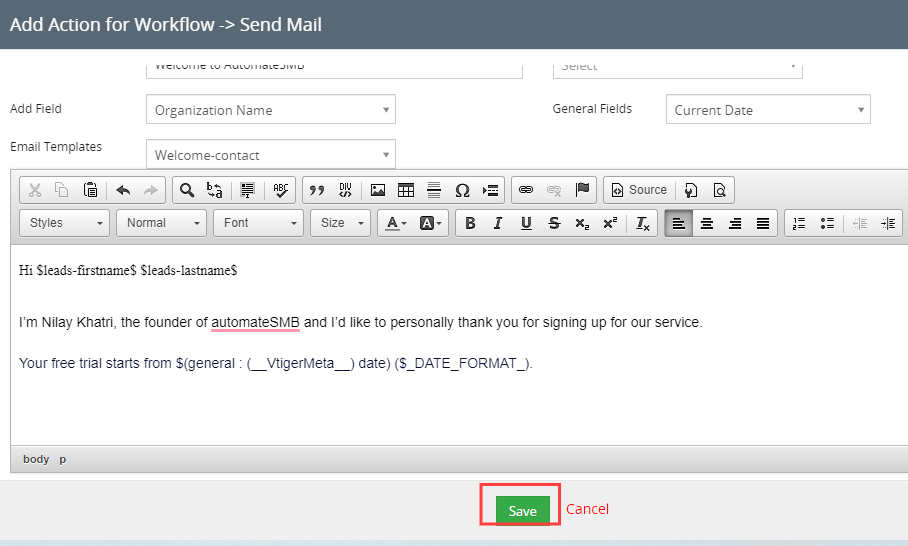
- Click on the Save button