Events are basically scheduled activities in your Calendar like Calls , Meeting, Seminar and so on..
How to create an event?
To create an Event follow the steps given below:
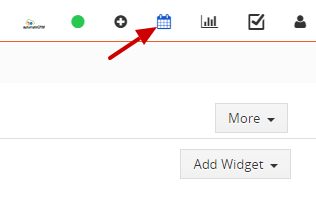
- Click on the calendar icon on the top right corner
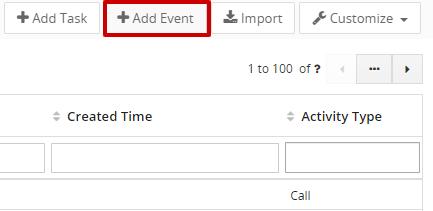
- Click on the Add Event button.
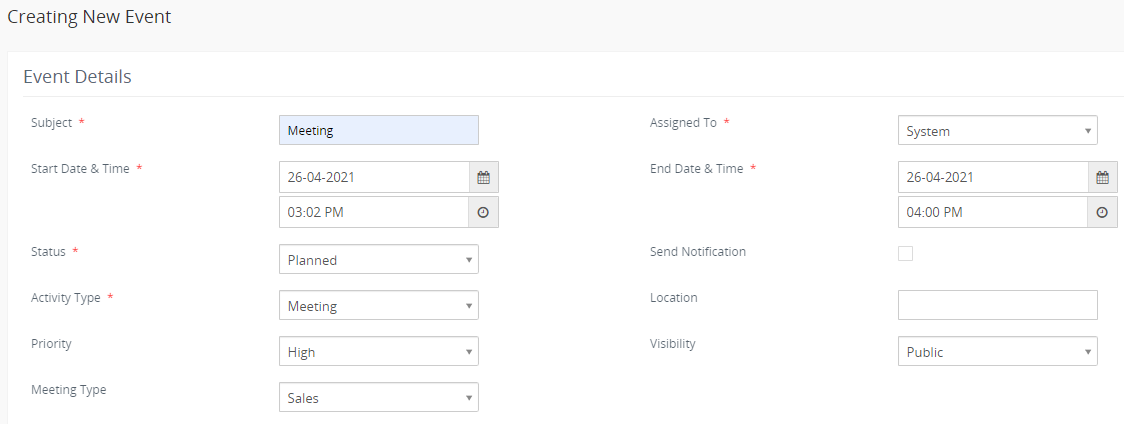
- Provide necessary information.
- Click on the Save button
Fields information:
| Field Name | Description |
| Subject | Provide the name of the event (Example: Meeting). |
| Assigned To | Assigned To is the holder of the Event, you can select from the drop-down. |
| Start Date and Time | It displays the Start Date and Time at which the event begins. |
| End Date and Time | Displays the End Date and Time at which the Event ends. |
| Status | Select the Status from the drop-down whether it is Planned, Held, Not Held, etc. |
| Send Notification | Click on the Checkbox to Send Notifications to and assigned to the user. |
| Activity Type | Select the Activity Type whether it is Call, Meeting, Mobile call, etc from the drop-down. |
| Location | Enter the Location details. |
| Priority | Select the priority of the event Urgent, High, Medium, Low from the drop-down. |
| Visibility | Select the Visibility Public or Private. |
| Meeting Type | Select the Meeting Type General, Sales support, Requirements Collection, etc |
Recurrence Details
It helps you create a Recurring event, enables the checkbox to repeat the event Daily, Weekly, Monthly, Yearly. When you select an event, you should also select when you want repetition to end.
Related to
- Select the Contact Name to whom the event is related.
- Select the Module from the drop-down to which it is related.
Description Details
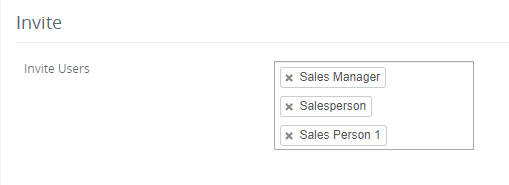
Invite
- While creating an Event, you can invite your users and contacts to attend the event scheduled.
- Once when the event is Saved you can view the created event in My Calendar.
How to Quick create an Event?
To Quick create an Event follow the steps given below:
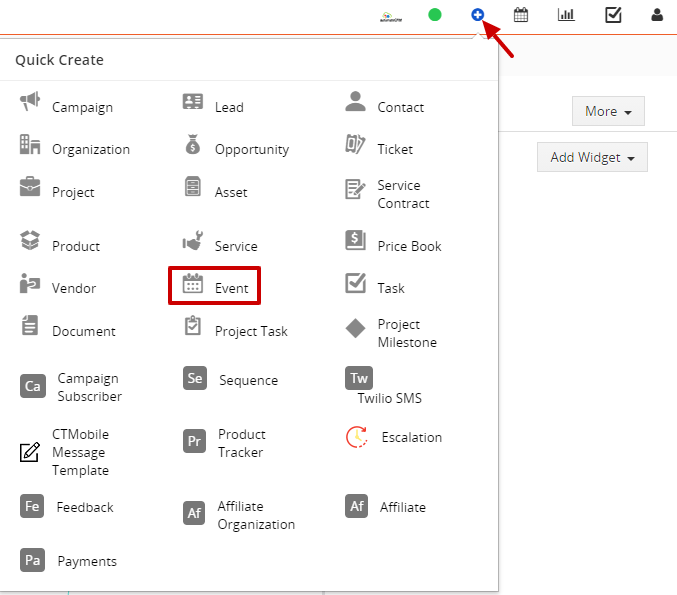
1. Click on the +icon on the top right corner of the page > Select Event >.
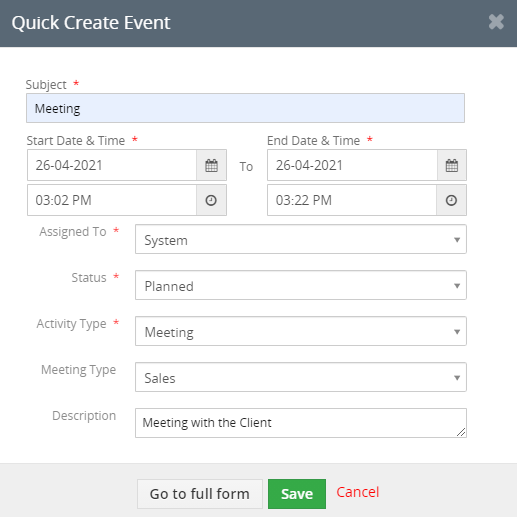
2. In the Quick create window enter the necessary details.
3. Click on "Go to full form" to fill more details of the event.
4. Click on the Save button.


