How to Integrate WordPress Elementor Forms with CRM?
To Integrate WordPress Elementor Forms with CRM follow the steps given below :
- Go to the WordPress official website page > Sign Up by providing your registered Email address, Username, Password and click on Create Your Account.
- The Login panel page appears, log in provide your "Email address" and "password".
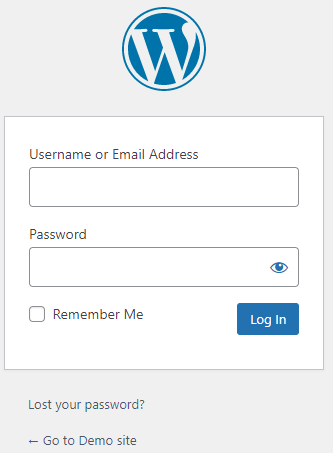
- Click on the "Login button".
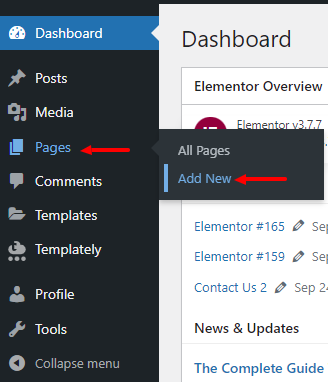
- The "Elementor Dashboard" page appears where you can see all the Elementor Overview "Reports".
-
To create a new page > Click on "Pages" > Select "Add New " option.
- A new page appears > Click on Edit with Elementor

- The Elementor Dashboard emerge, where you can view different types of Elementor components on the left hand side. Using which you can create a form.
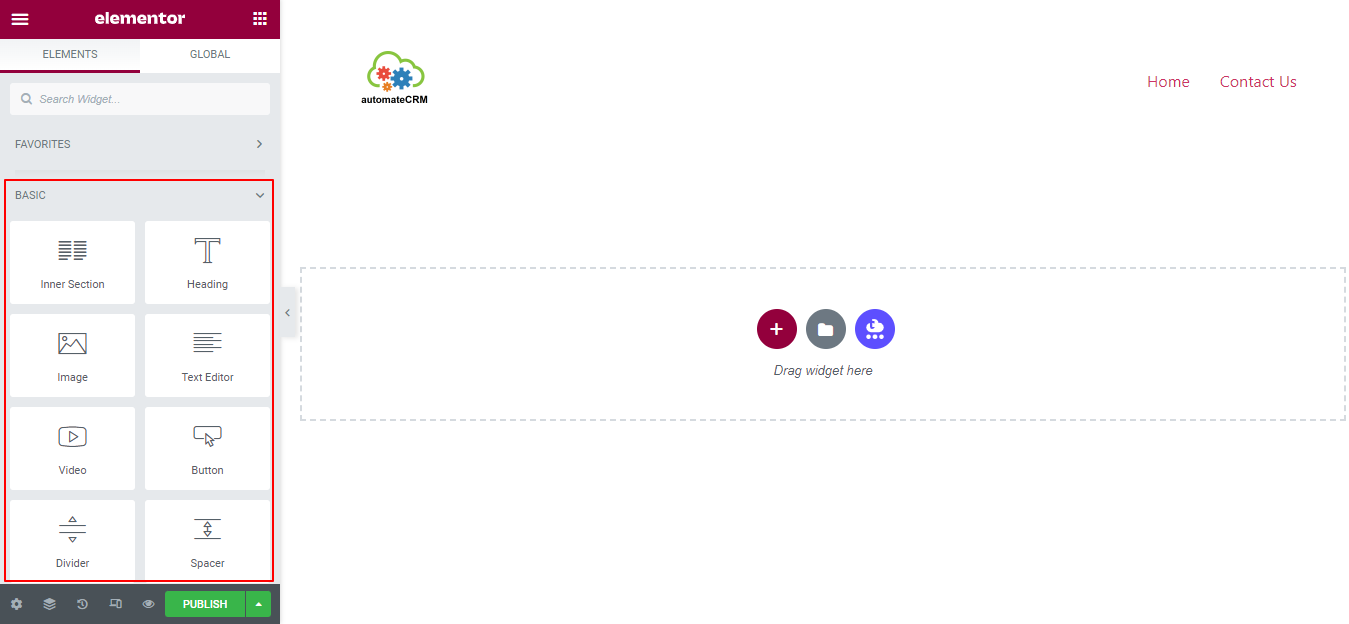
Creating a Form
- To add the Form > Select "Form" option from the Elementor Elements section just by dragging and dropping to the required place.
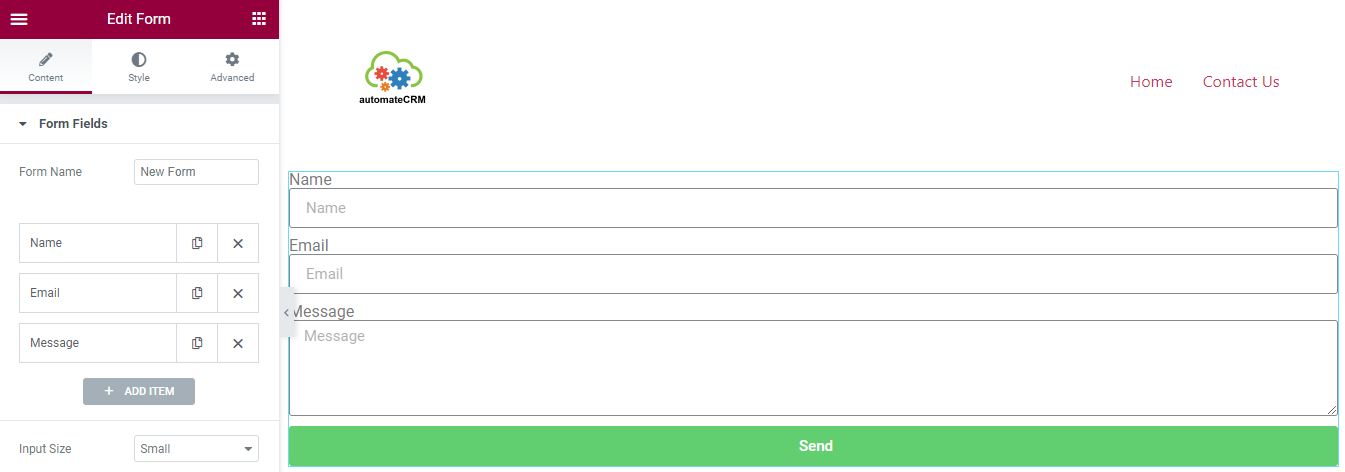
- Next to view Fields settings click on the Field and have a list of all the fields in the form you can easily Duplicate, Edit or Delete the fields.
| Field Type | Description |
|---|---|
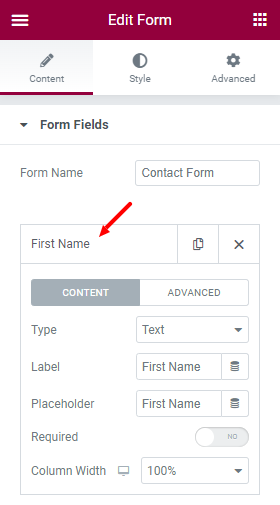
| Type | You can select the field Type from the drop down example : Text, Email, URL etc. |
| Label | You can add or edit the Label name of the field to be displayed on the form. |
| Placeholder | The Placeholder field which helps you to provide the name of the field to be displayed inside the field. |
| Required | You can set the field as mandatory by click on the Required field button. |
| Column Width | You can select the Column Width from the drop down which helps you to set the width of the field, example if you want two field to be set in one row. set each field to 50%. |
Adding New Field for public id mapping
Follow the steps given below to add the new field:
-
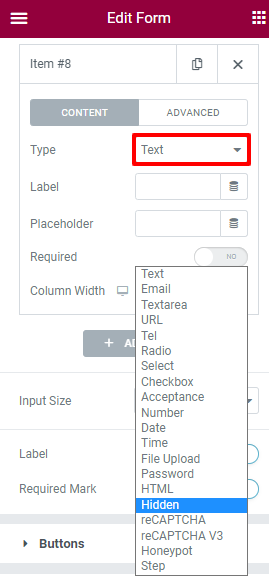
Click on "+ Add Item" button, so that the fields settings will appear.

- Next in the the "Type" field select the "Hidden" option from the drop down, which defines the Hidden input field that cannot be seen or modified by visitors, when a form is submitted.
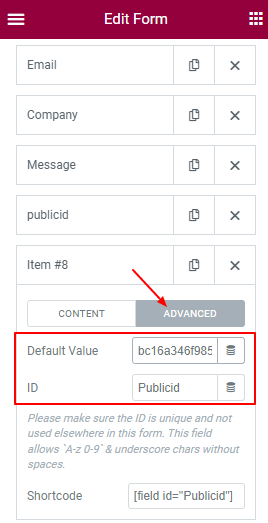
- Click on "Advanced" Option to given the value for Public ID.
- In the "Default Value" field copy paste the Public ID value from the Webform.

- Next in the "ID" field provide the name as "Publicid".
For creating Webform refer below article:
Webforms creation and working
How to map the Webform fields name in Word Press Elementor form?
Follow the steps given below to map the Webform fields name in Word Press Elementor form.
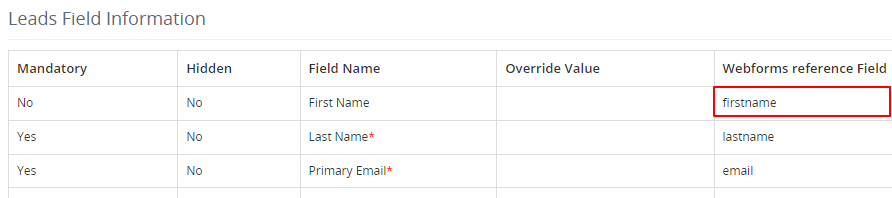
Let us take the example of First Name field.
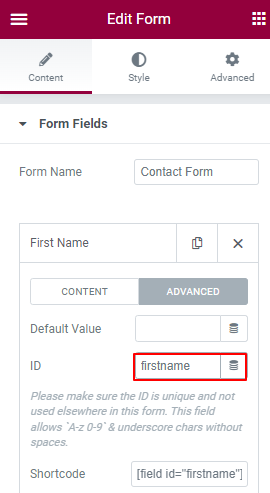
- Click on First Name field > Go to Advanced option.

- Next in the ID field to change the ID from name to the respective field from webform. Copy the firstname from the "Webform reference Field" and paste it in the ID field option.
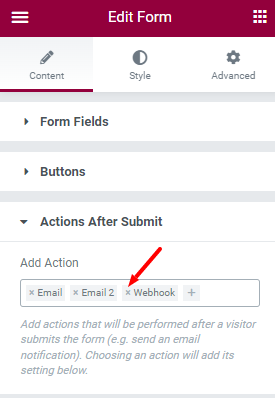
Action After Submit Content
Add Action that will be achieved once when the visitors submits the form. Choosing an action will add its settings below.
To Add Action follow the steps given below:
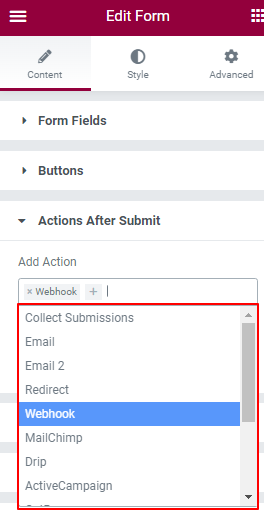
Lets take the action as Webhook.
- Click on "Add Action" dropdown field where you can view the list of actions to select from the dropdown, like : Email, Email2, Mailchimp, Redirect, Webhook, Drip, Active Campaign, Get Response, Convert Kit, MailLite, Slack, and Popup.
-
Select Webhook action > Click on Webhook tab to open its option.
a. Webhook URL : Enter the URL, which will be the Post URL of Webform that will acquire after submitting the data.
To get Post URL open the created webform. Under Webform Information you will get Post URL.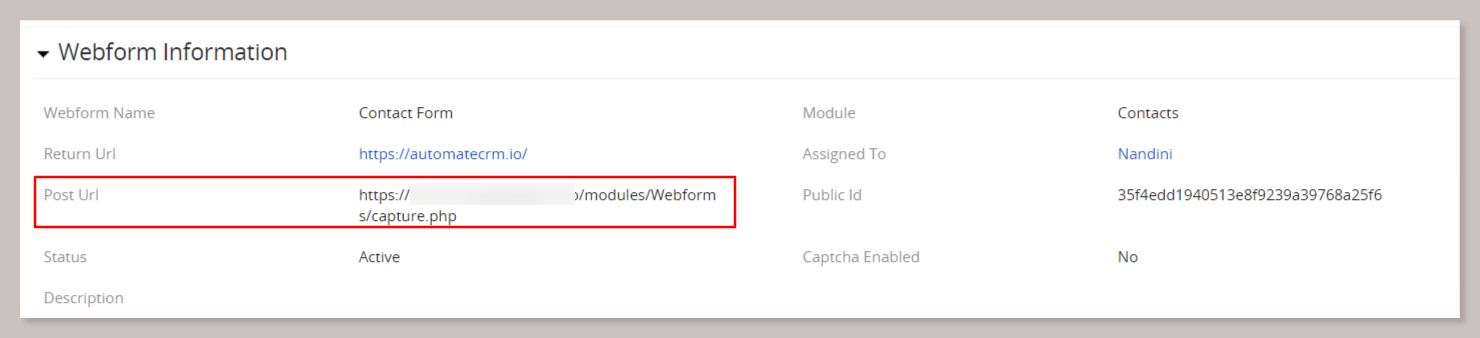 b. Advanced Data : Enable the Advanced Data button which helps you to collect the data.
Enter the Post URL in the Webhook URL.

Finally the WordPress Elementor Contact Us Form is ready, fill the information and click on Submit button so that the information will be fetched in CRM.

To remove the Add Action List
1. Click on the remove option from the from the "Add action" field.